Adding a user 3D model into the IP Video System Design Tool
To make the projects look more realistic, you can import a 3D model in DAE/OBJ formats.
You can find free 3D models in .dae format, for example, on 3D Warehouse Sketchup (https://3dwarehouse.sketchup.com). Look for the required model and download the Collada file.

Please unarchive the downloaded file.
1) In the program, open the “Site Plan” tab, select Add test object/User models/Add user 3D model.
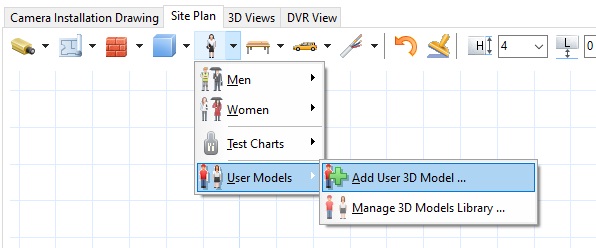
Then please select the loaded .DAE/.OBJ file.
2) You can interact with the 3D model (select, rotate, adjust, etc.) via the red frame. Right click on the red frame and select “3D model parameters”.
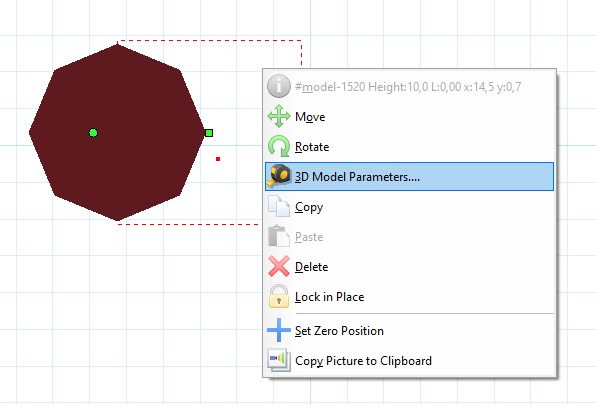
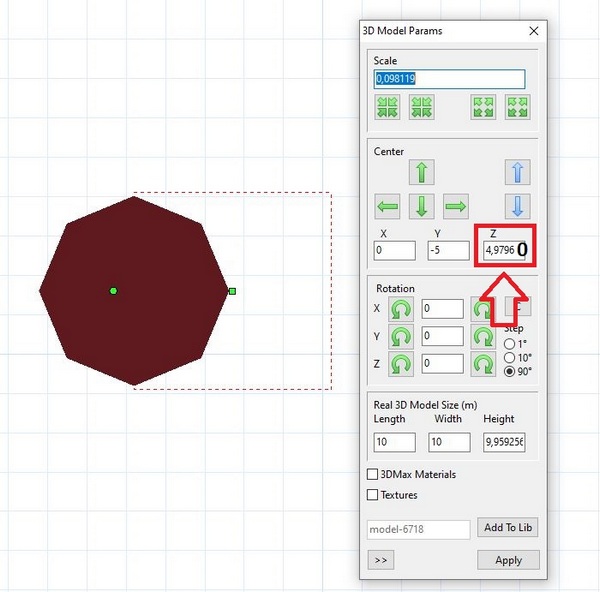
3) The Z parameter shows the elevation above ground level. Make it equal to 0 and click Apply.
4) To scale the 3D model so it is the same size as it is in the real world, you have 2 options:
– use only the scaling buttons at the top
– set the real size for the red frame (at the bottom) and then use the scaling buttons to adjust the model
Note: If you set the frame size, it will change proportionally when scaling.
The main 3D model parameters:
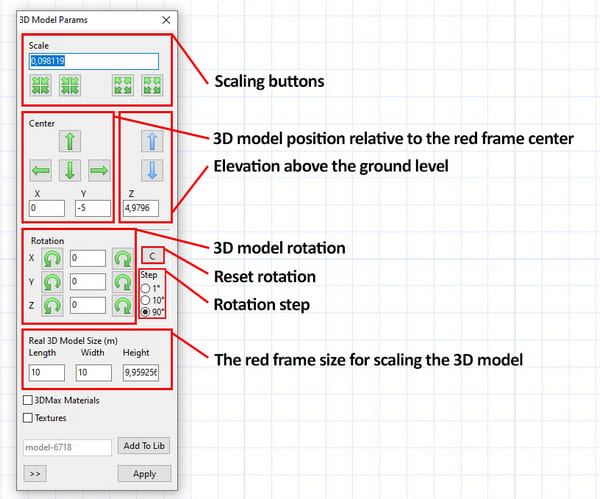
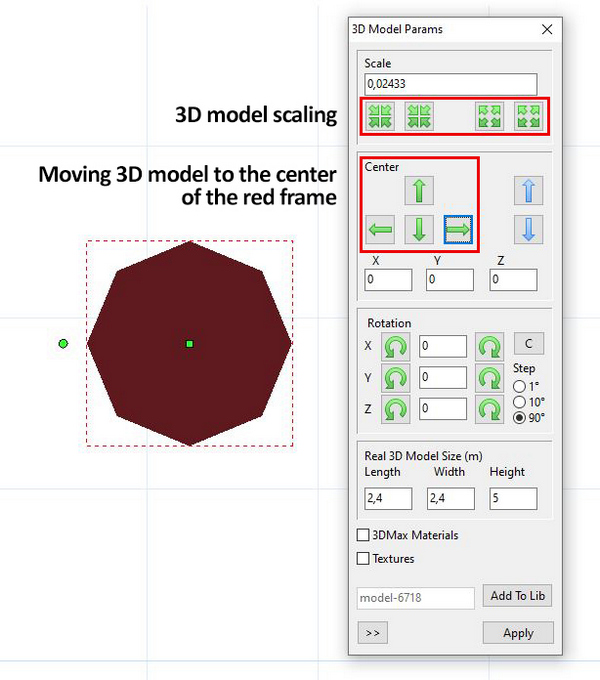
In the example, we will set the real model size using the frame size: width — 2,4 м, length — 2,4 м. Click Apply to make the frame equal to the set dimensions:
5) We have set the red frame size so it will not change after using the scaling buttons. Using the scaling and moving buttons, make the model the required size and place it in the center of the frame. Click Apply to save the changes.
Note 1: If you only use the scaling buttons at the top, please place the model at the center of the red frame at the end.
Note 2: You can scale the “Site Plan” tab using the mouse wheel, without closing the 3D model parameters window.
The result:
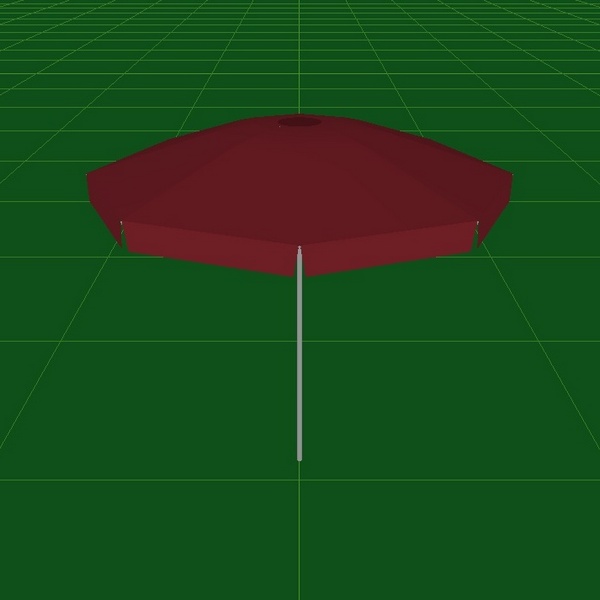
The scaled model is saved in the project after saving the .JVSGZ file.
You can find the OGL and INI files (the program formats where the model is stored) near the original DAE/OBJ file.


