Left Move the camera to the left by 1 meter.
|
|
 RightMove the camera to the right by 1 meter.
|
|
 ForwardMove the camera forward by 1 meter.
|
|
 BackMove the camera backward by 1 meter.
|
|
 Publish to cloudPublish the image of the enlarged 3D view to cloud.
|
|
 Full screen modeSwitch the image from camera 3D view to full screen
|
|
 Real camera resolutionSee, how image quality changes or deteriorates, when you use low-resolution cameras, by using Real Camera Resolution.
|
|
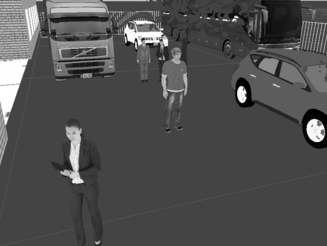
 Black/white modeSwitch the camera image to black/white mode.
|
|
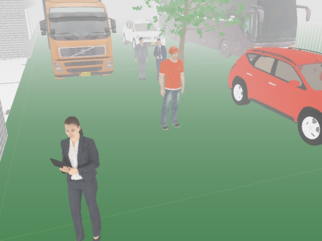
 FogAdd a fog effect to the camera image.
You can adjust the intensity of the fog when you switch on this mode - the more distance you specify, more diffused the fog will be.
|
|
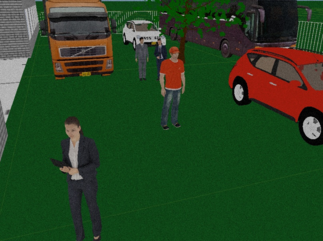
 NightAdd a night effect to the camera image, and noise effect which can be animated.
|
|
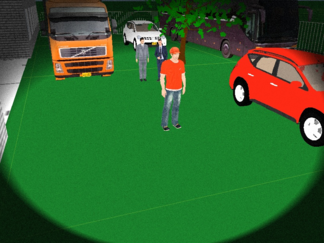
 ProjectorAdd a projector effect to the camera image.
|
|
 Grid sizeSelect the grid size.
|
|
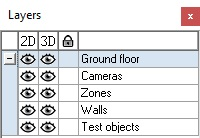
 LayersThis function can be used in two ways:
-
hide some parts of the project (in 2D or 3D view) -
speedup the loading of the project. If the project has a lot of 3D models, you can turn them off using Layers function, speeding up the project.
|
|